Garlic growing is easy in the home garden.
Maintaining top quality requires care and attention. Weeding is important as garlic does not like competition. Watering and not watering, harvesting on time and curing properly are all important for producing bulbs with good keeping qualities.
Soil Preparation
Garlic will grow under a wide variety of soil conditions. It is said to prefer free draining loam with lots of organic matter. Building up your soil with green manure cover crops as part of your normal crop rotation is good practice. We like to get all our amendments into the soil before planting. Compost and composted manure are popular choices.
Selecting Your Seed
We select our own seed first so that each year our average production is improving. We choose bulbs with a nice shape and plump cloves. In general, clove size is more important than bulb size as a determinant of future bulb size. So, choose the largest cloves from the largest bulbs as your seed stock.
When to Plant Garlic
In Colorado most varieties of garlic, under most conditions, do best when planted in the fall. We usually plant ours in mid-October. The timing of fall planting should be such that the roots have a chance to develop and the tops do not break the surface before winter, about three weeks before the ground freezes.
Tip – In Warmer Climates Store Your Hardneck Garlic in a Cool Spot Before Planting
Hardneck garlics need to go through a cold period to trigger sprouting. If your soil temperatures stay warm, store the garlic in a cool, dry place, 7 – 10°C (45 – 50°F), for about three weeks before planting.
Preparing Cloves for Planting
Shortly before planting break the bulbs apart into cloves. This is called ‘cracking’. The cloves are attached to the basal plate, the plate that the roots grow from. When you crack the bulb each clove should break away cleanly, leaving an image of a ‘footprint’ on the basal plate. With true hardneck garlics you can crack them by giving the woody stem a sharp rap on a hard surface. The root nodules begin growing from edge of the foot of the clove. If the basal plate stays attached to the clove you may be able to flick it off. Be careful not to damage the foot of the clove. It is more important to keep the clove intact than to remove the basal plate.
Set aside the very small cloves to eat soon, to make into pickles, to dry, or to plant tightly together for eating in the spring, like green onions. Each larger clove will produce a good sized bulb by the end of the growing season. The smallest cloves require just as much space, care and attention in the garden and produce significantly smaller bulbs.
Tip – Separate the Cloves just before Planting
If you separate the garlic cloves as close to planting time as possible, preferably within 24 hours, the root nodules won’t dry out and the garlic will be able to set roots quickly.
Planting Garlic
You can plant garlic in single or double rows or in wide beds of four to six plants across with four to eight inches between plants. Tighter spacing in the beds will produce a greater number of smaller bulbs for a higher total yield in terms of pounds of garlic per square foot of garden.
It is important to plant hard neck garlic with the top (pointed end) of the clove up, at least two inches below the surface.
When you have planted the garlic you can cover it with a layer of mulch if you wish.
Mulching
Mulching conserves moisture, moderates soil temperatures and inhibits weeds.
Mulching can even out the soil moisture between rains and irrigation cycles. It is not recommended in wetter climates where excess water can be a problem for garlic.
Moderating soil temperature is helpful where there are extremes of heat and cold. Garlic does not like repeated freezing and thawing. Frost heaves can tear the young roots from the cloves. A thick layer of winter mulch is a good insurance against winter kill. Garlic does not like extreme heat either and mulch will moderate the daily fluctuations in summer soil temperatures.
Chopped leaves, swamp grass, reeds and alfalfa hay are among the preferred mulch materials. Grain straw is not recommended because it can host wheat curl mite which will attack garlic. Grass hay is fine if you don’t mind lots of grass seed in your soil.
We put on about 4” of mulch in the fall for winter protection. Mulch may be chopped or not. By spring the mulch has settled to 2” which is enough for weed suppression and heat and moisture control. Where winters are harsher, thicker winter mulch is advisable and then some may need to be pulled back in the spring.
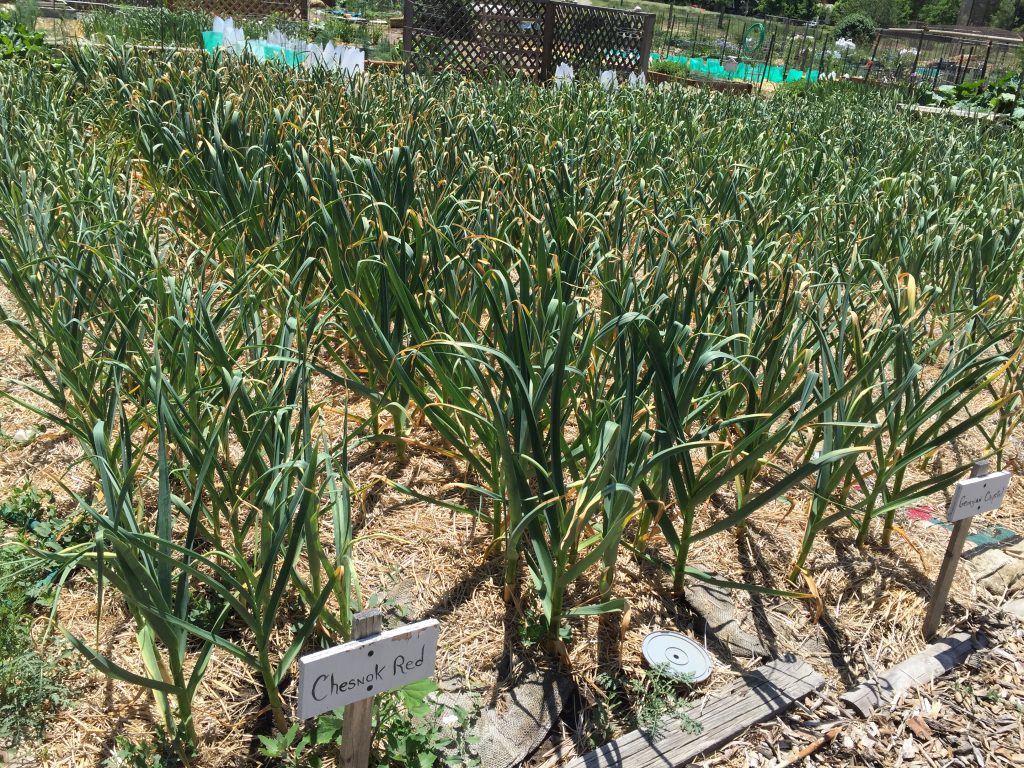
Labelling the Garlic Beds
It is very easy to lose track of which garlic is which. By using a combination of maps and markers we can always identify the garlic in the ground. Detailed maps show how much of each garlic is planted and where. UV resistant markers are used to write labels on sticks for each end of a bed or section of a bed.
Scapes and Bulbils
Hardneck varieties produce a central stalk which goes straight up and then usually makes one or two loops. The garlic top is called a scape, garlic flower or top set, and contains a bulge where bulbils will form.
The standard wisdom has been that if you want all the plant’s energy to go into producing a large bulb, you snip the scape off after it has made one or two loops. However, in 2011 we discovered that not all varieties take kindly to this procedure. In particular, the Turban Variety of weakly bolting hardneck does MUCH better if the scape is left on until it is time to harvest the bulb. Not only were the bulbs bigger, they were in better shape. Our practice now is to leave the scapes on all our true hardneck varieties at least until they have made two loops and to leave the scapes on most of the weakly bolting hardnecks even longer.
If you want to use the bulbils to propagate more garlic, leave the plants in the ground later than your normal harvest and leave the bulbils in place until they are pushing their capsules open. Harvest and cure the bulbs and bulbils separately if you want to avoid getting soil on the bulbils.
Watering Garlic
Garlic requires fairly even soil moisture during the growing season with no additional moisture during the last few weeks. Mulch is one way of maintaining an even moisture regime. Not enough moisture means that garlic does not develop a full sized bulb. Over watering results in garlic with poor keeping qualities – poor wrappers, burst skins and mold. Also, it is harder to cure garlic that has been over watered.
One of the arts of garlic growing is knowing when and how much to water. We leave a couple of early scapes on each bed and when they stand up straight that is usually one of our signals to stop watering. We stop watering two to three weeks after cutting scapes.
Tip – Do Not Over Water
If you want to keep your garlic through the winter, it is safer to stop watering too soon than to try to get the last bit of size to the bulbs since over watering shortens the life of bulbs.
Harvesting Garlic
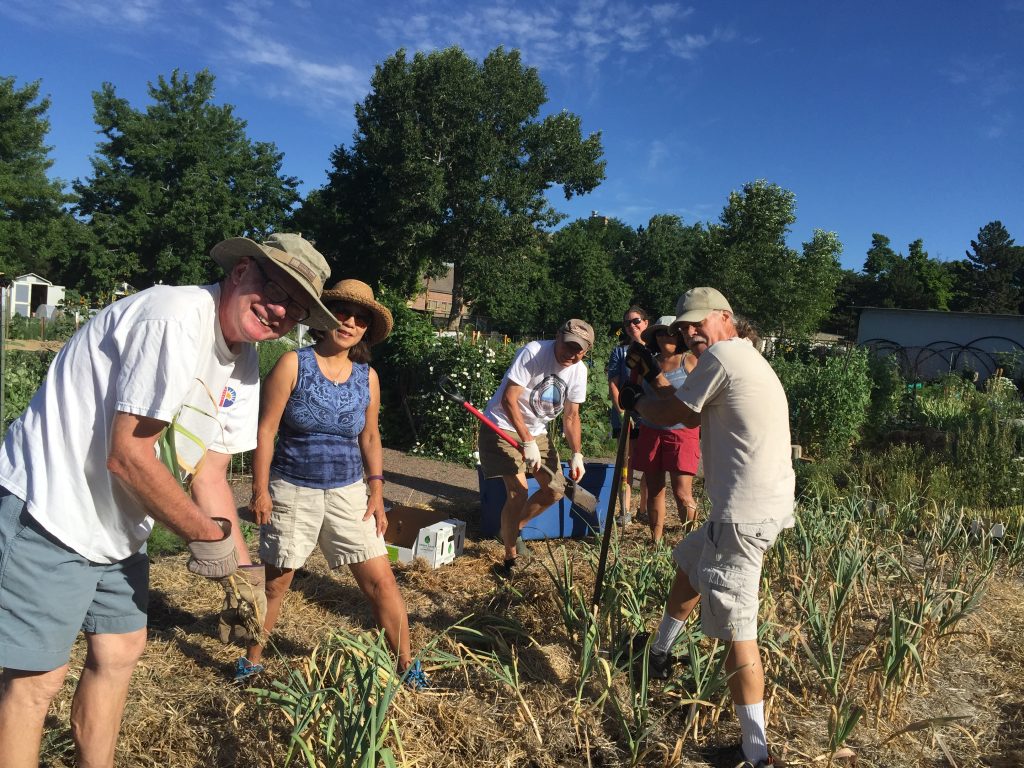
Tom H., Helen B., Dennis H., Sissy L., Lara D., and Richard C. are rockin’ Garlic Harvest 2016
A few weeks before harvesting stop watering the garlic. Different growers have different rules of thumb regarding the best time to harvest. The dying back of the leaves is only an approximate indicator.
To determine whether the garlic is ready to harvest inspect a few bulbs in the ground by carefully scraping away the dirt. You can feel the bumps of the cloves through the wrappers of a mature bulb.
Lift the garlic from the ground when the bulb has reached a good size and before the wrappers begin to deteriorate or the bulbs begin to split open. If a bulb is not well-wrapped, and the skins on the cloves are not intact, the garlic will not keep well. Learning exactly when to stop watering and when to harvest is a matter of judgment that comes with experience.
We begin harvesting our earliest varieties in late June to mid-July. We use a garden fork to loosen the bulbs – and lift the plants by hand. Be careful as garlic bruises easily.
Garlic can get sunburned and some varieties of garlic change flavor when left in the sun, so we keep the garlic in the shade as it is harvested.
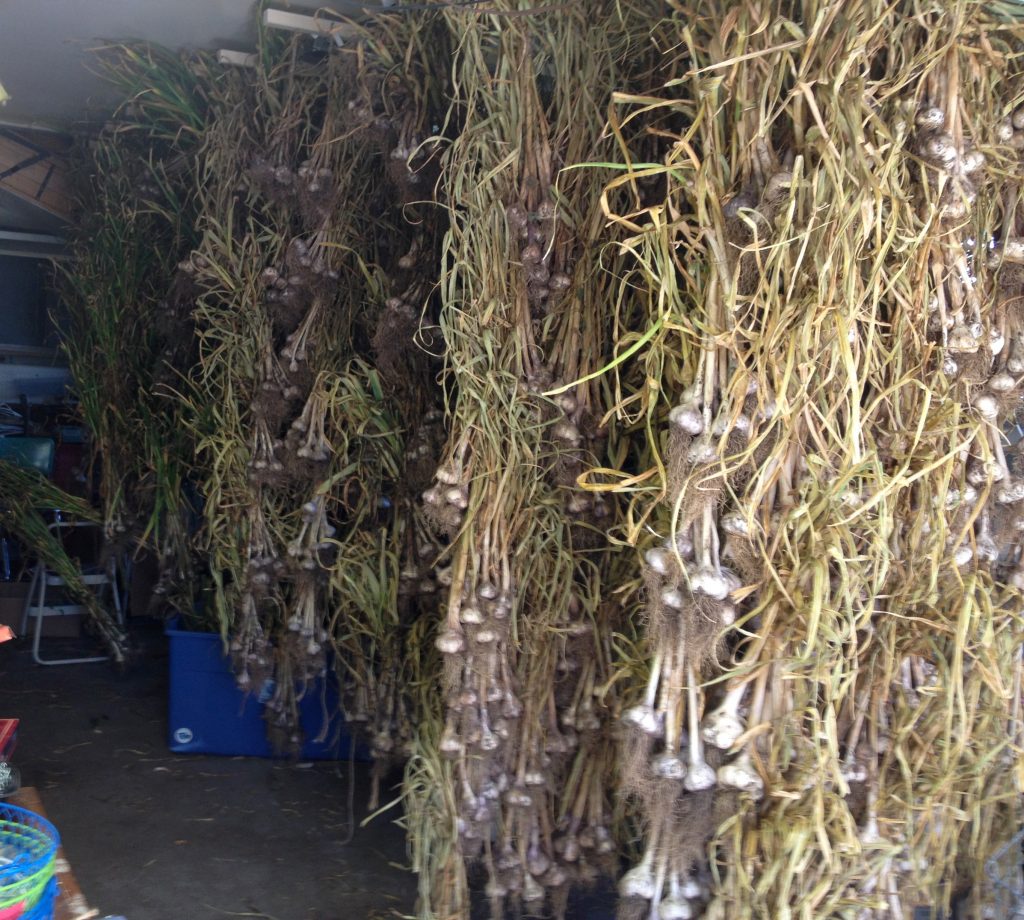
Curing Garlic
After garlic is harvested, it needs to be cured. In curing, the energy from the leaves goes into the bulbs as they dry. Remove any chunks of dirt from the roots, being careful not to bruise the garlic. Leave the roots on as they have a moderating effect on the drying rate.
If you have just a small amount of garlic, you can spread the plants out where they are protected from the sun and rain and there is good air circulation.
We hang our garlic – about 50 or 60 to a string in bunches of 6 to 10. The appropriate number of plants in a string depends on their size and moisture level at harvest. You want the circulating air to be able to reach all sides of the bulbs. Hang the strings our of direct light where it is warm with good air circulation. Drying time is usually about 4 weeks. You want the wrappers to dry and the garlic to retain its moisture and oils. If you do not have enough air movement use fans.
We are fortunate that one of our gardeners has adapted her garage for hanging and curing our garlic. Thanks, Amy!
Cleaning Garlic
When the wrappers are dry, prepare your supply of garlic for long-term storage or for planting.
Select your seed first for fall planting. Select good sized, fully mature bulbs with nice plump healthy cloves and set these aside for planting.
Cleaning consists of trimming the leaves and roots and removing the dirty outer wrappers.
If the roots are crispy dry the roots and dirt will come off with a couple of rubs with a glove, leaving a short brush of roots. If the roots have picked up humidity you will need to trim them with snips, leaving 1/2 to 1 inch.
Trim the tops, being careful not to cut the skins protecting the individual cloves. Leave enough stem on hardnecks to make cracking easy.
The papery wrapping protects the garlic and keeps it fresh. Remove just the dirtiest outer layers of wrappers.
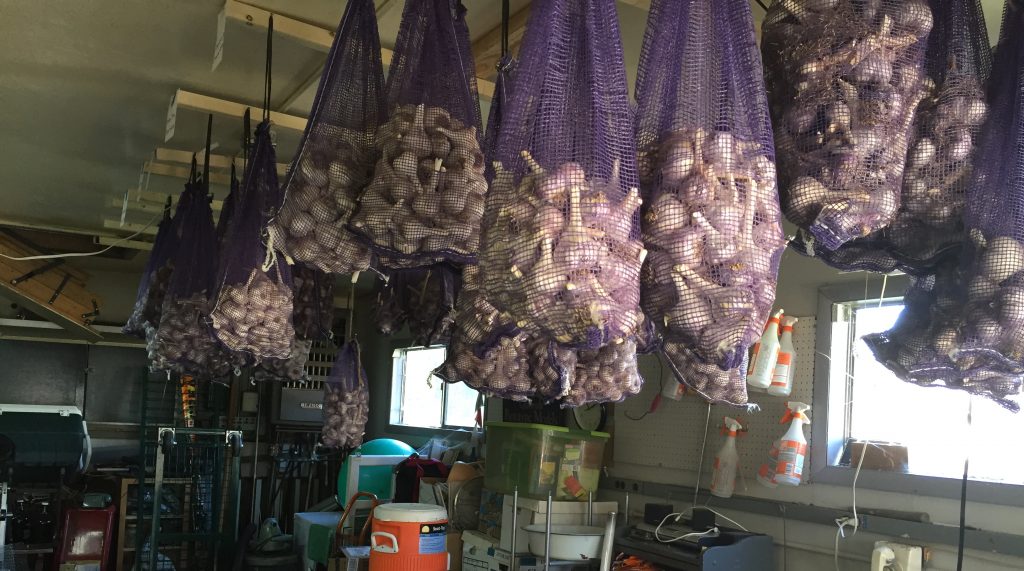
Place the clean bulbs in clean mesh bags and label.
Tip – Don’t Store Damaged Bulbs
Damaged cloves spoil easily. Put aside any bulbs with soft cloves for immediate use. The good cloves from these bulbs are excellent for garlic pickles or dried garlic.
Storing Garlic
Under good home storage conditions a solid, well-cured, well-wrapped garlic bulb will keep 6 to 8 months or longer. The actual keeping time is affected by variety and other factors. Store garlic at a cool, stable room temperature. A temperature of 60 – 65°F with moderate humidity and some air circulation works well. We hang our garlic in mesh bags.
Did You Know?
Supermarket garlic has usually been kept cold in controlled storage. If garlic has been kept cold it soon begins to sprout when brought to room temperature.