So, you carefully planted your garlic cloves last fall, and maybe you even remembered to label which variety you planted in which row. The garlic shoots came up in the spring, they look great, now what?!
First, trim the scapes
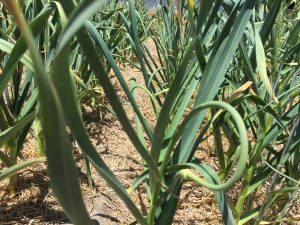
Garlic scapes are the shoots that grow up from the center of the stalk with a bulbil on the end, eventually producing a flower. To concentrate the plant’s energy into growing the garlic bulb instead of a garlic flower, the scapes should be trimmed after they have made one or two curlicue loops.
Trim the scape a couple of inches from its base and take them home. These are farmers’ market gold. Scapes have a mild garlic flavor. Chop them and use them in recipes as you would any aromatic in place of garlic or green onions. Maybe toss them with olive oil, season with salt and pepper, and grill until lightly charred(my personal favorite). Make garlic scape pesto and then freeze it to use throughout the season. Make a garlic scape pizza. Or, puree with olive oil, place in a Ziplock bag and freeze flat. Break off pieces of the puree to use anywhere you want a little hint of garlic–soups, sauces, dips, garlic mayonnaise, garlic butter, garlic gumbo….you get the idea.
When to Harvest
There are several tell-tale signs of when garlic is ready to harvest. One, is when most of the leaves have turned brown. Another is when the stalks have fallen over. But the surest way to tell is to dig one up and check to make sure that the cloves have fully formed. An immature bulb will still be relatively smooth, without much evidence of cloves. When the cloves are distinct, the garlic bulbs are ready to harvest.
How to Harvest
When your bulbs are ready, gently loosen the soil around them with a shovel or garden fork and gently pull them up from the soil, dusting off as much of the dirt as possible. The bulbs are very delicate at this point, so be gentle and don’t bruise them. It is also advisable to keep them shaded as you pull them out of the ground. They have been in the dark soil for months, and the sudden exposure to light is somewhat shocking to the bulbs. 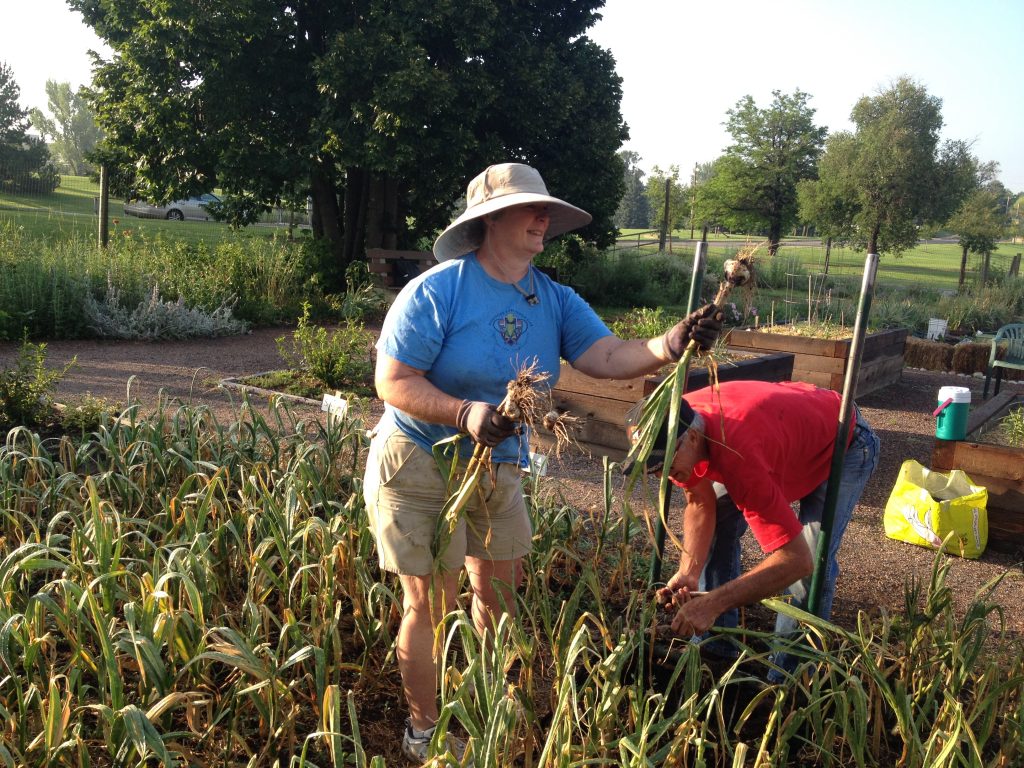
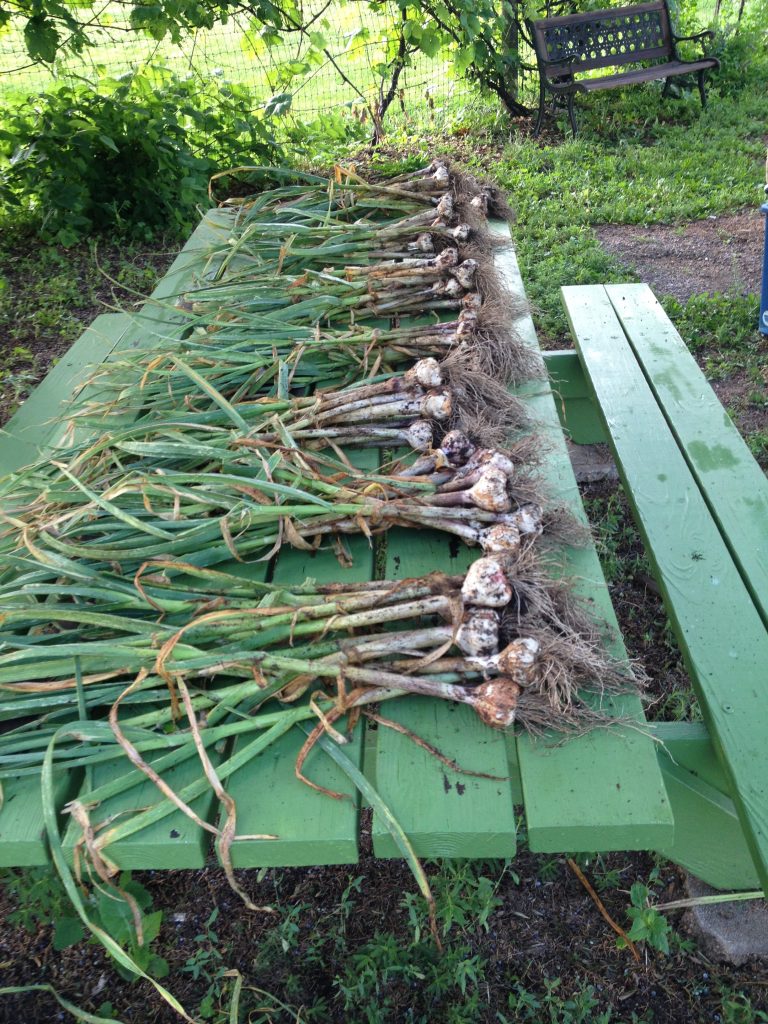
Remove any chunks of dirt from the roots, being careful not to bruise the garlic. Leave the roots on as they have a moderating effect on the drying rate.
Tie them into bundles of 10 or so…
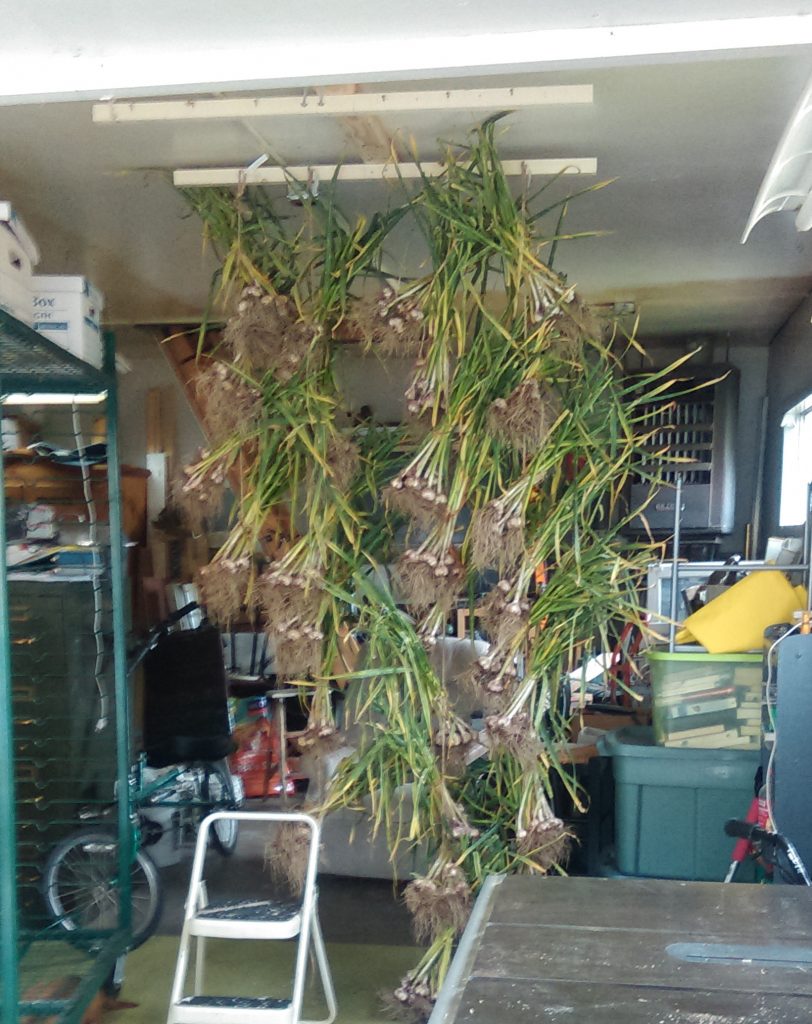
…and hang them from a peg in an area with good air circulation to cure. In curing the energy from the leaves goes into the bulbs as they dry. A garage or basement is perfect. You might want to choose an area that can be easily cleaned, though, because you’ll have dirt and leaves falling on the floor beneath them as they dry out.
After a few weeks, four to six, when the wrappers are dry, prepare your supply of garlic for long term storage or for planting.
We recommend that you select your own seed first. Select good sized, fully mature bulbs with nice plump healthy cloves and set these aside for planting. If you are planting in the fall you do not need to do as much cleaning as you do for selling or long term storage.
Cleaning consists of trimming the leaves and roots and removing the dirty outer wrappers.
If the roots are crispy dry the roots and dirt will come off with a couple of rubs with a glove, leaving a short brush of roots. If the roots have picked up humidity you will need to trim them with snips, leaving 1 or 2 cm (1/2 to 1 inch). For many markets it is acceptable for the roots to be a little dirty – a quick brush with a glove on the trimmed roots is enough..
Trim the tops, being careful not to cut the skins protecting the individual cloves. Leave enough stem on hardnecks to make cracking easy.
The papery wrapping protects the garlic and keeps it fresh. Remove just the dirtiest outer layers of wrappers.
Store the cleaned and trimmed bulbs in mesh bags, well labelled, and keep in a cool, dark place, but don’t refrigerate them.