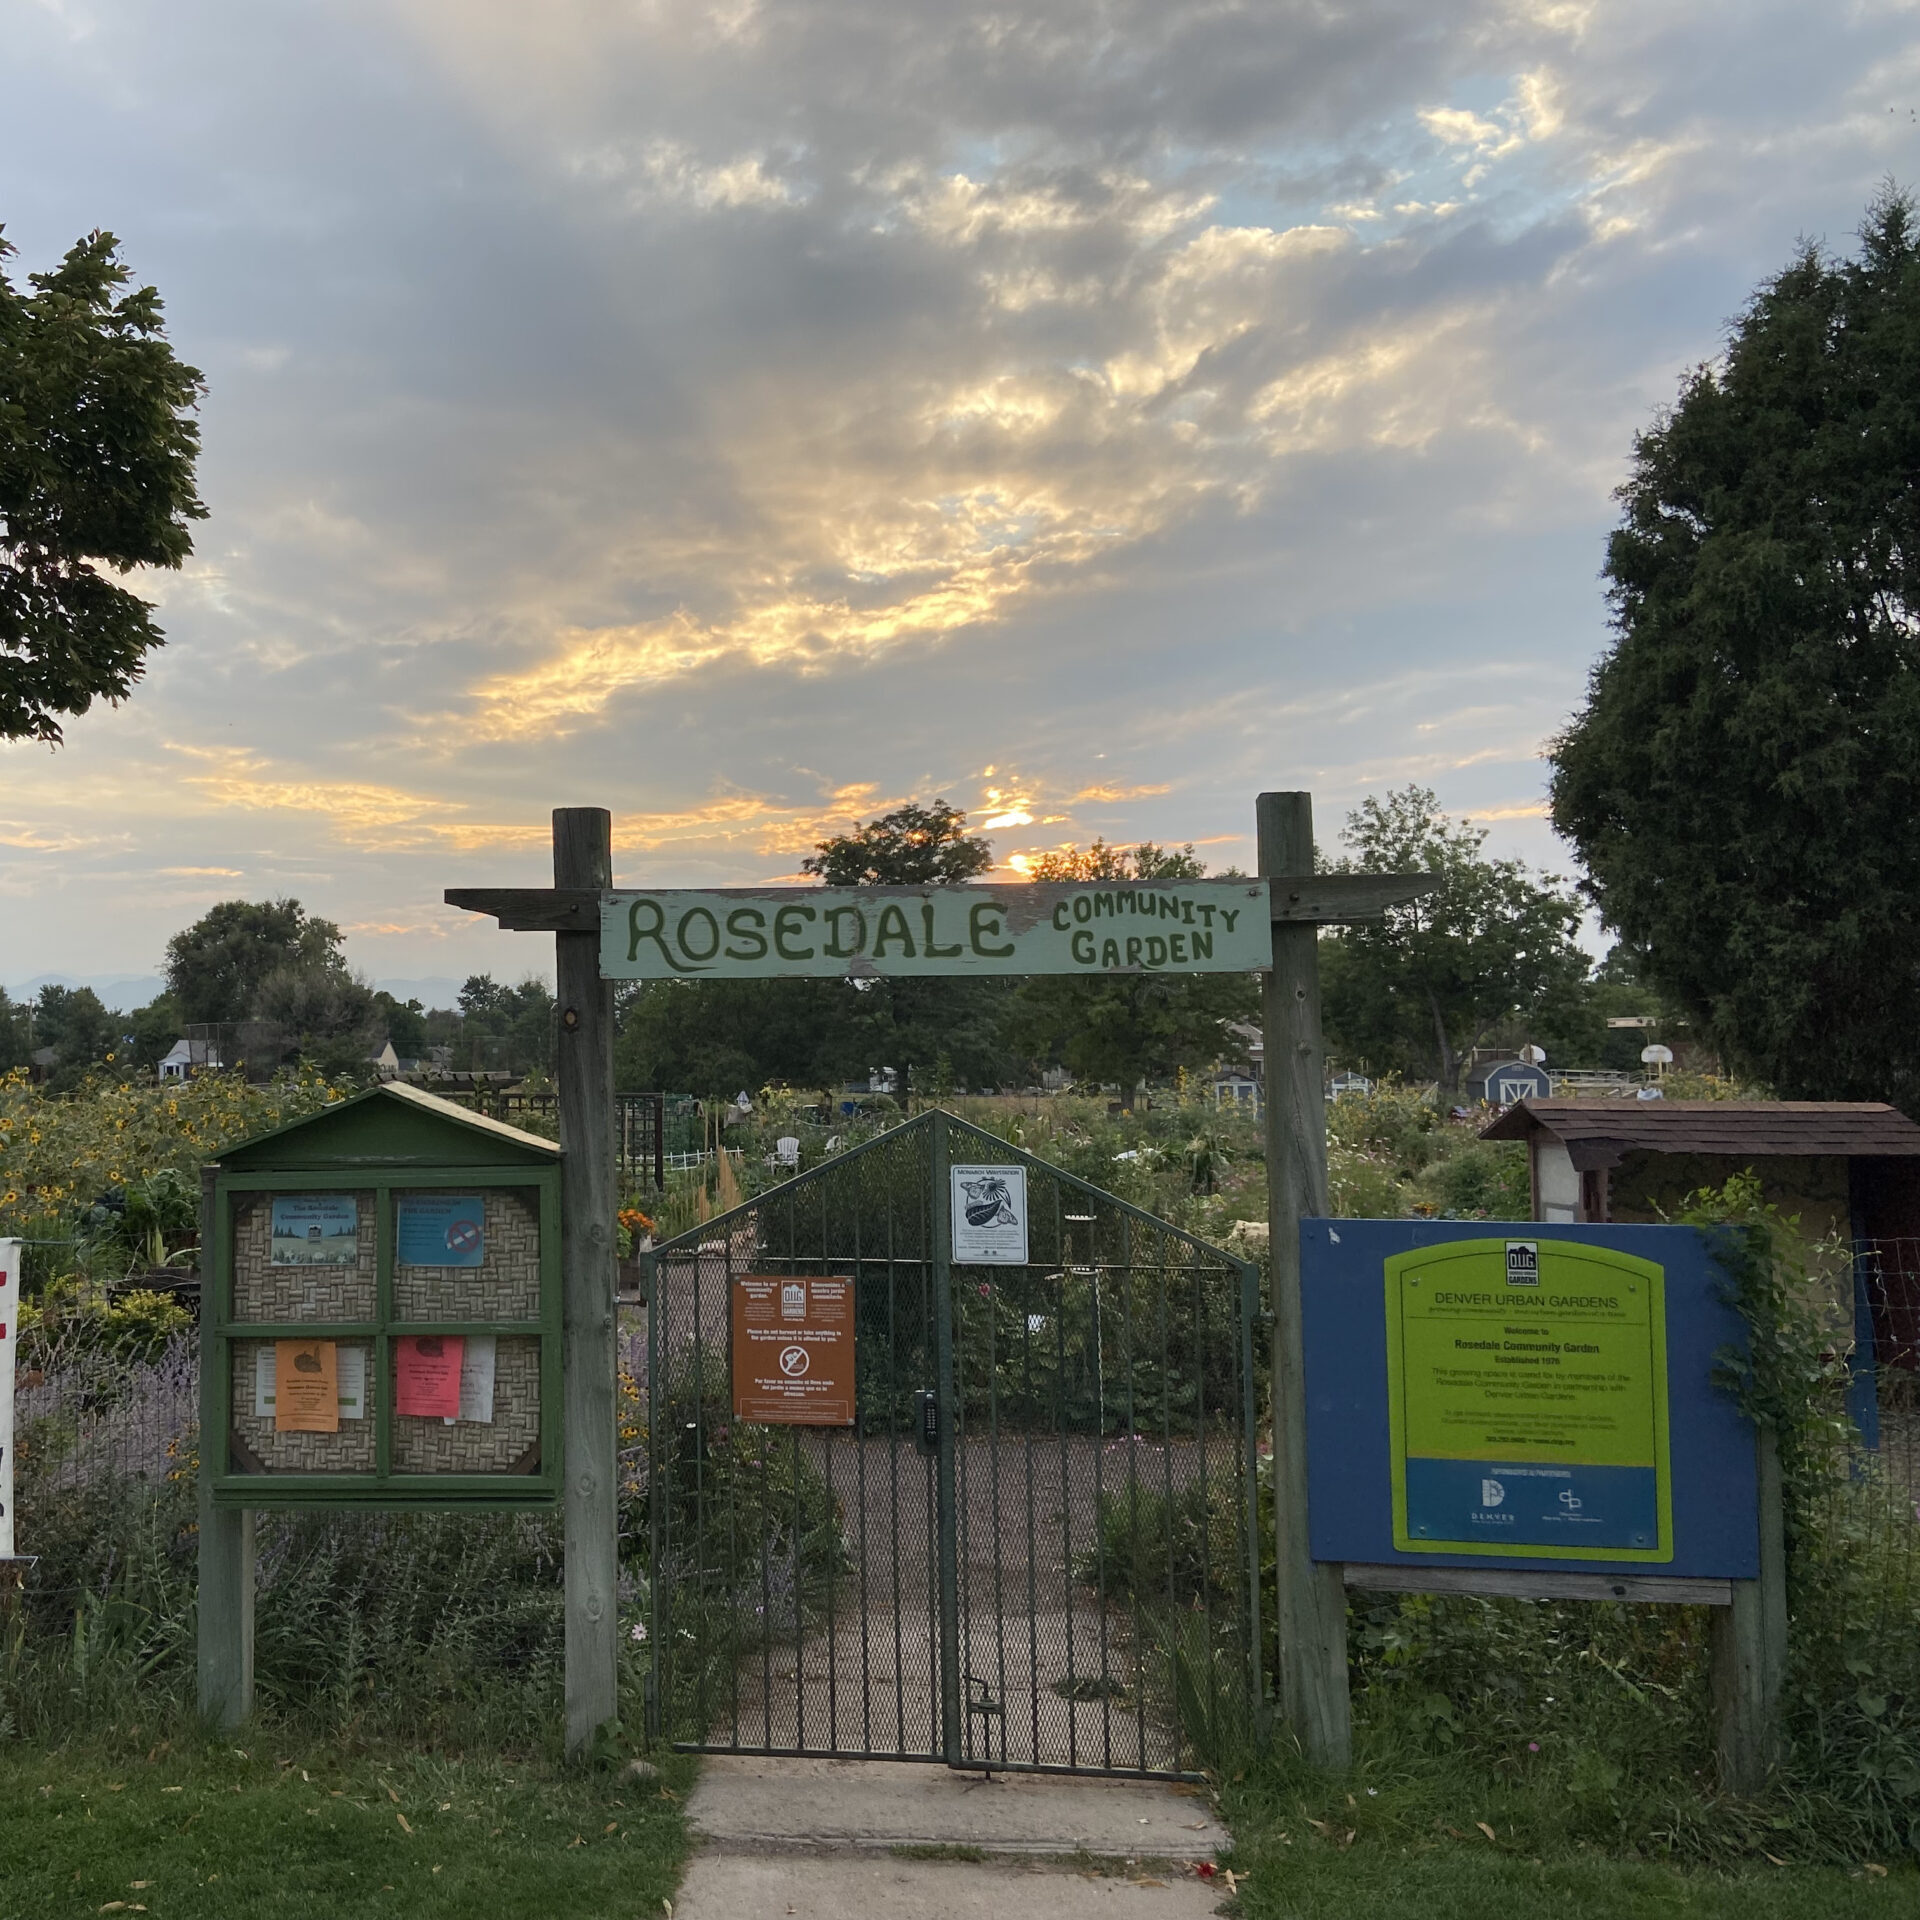
↓
 

Building community, one urban garden at a time.

  • Home
  • Garlic
    • Garlic Overview
    • Garlic 101: Planting, Harvesting, Curing
    • Garlic Harvesting at Rosedale
  • Pest Management
    • Early Tomato Blight
    • Japanese Beetles
    • Garlic Fire Spray
    • Puncturevine, aka, goat head
    • State Noxious Weeds vs Invasive Annoying Weeds
  • Members
    • 2021 Garden Application
    • Straw Payments
    • Hours Log
      • Hours Report
    • 2020 Garden Rules and Waiver
    • Member Roster
    • Garden Map
    • Garden Project Teams
    • Garden Finances
    • Rosedale Reimbursement Procedure
    • Event Planning Form
  • Contact
  • Recipes
  • Bees
  • Resources
    • Hand Tools at Rosedale
Home - Page 2 << 1 2 3 4 … 6 7 >>

Post navigation

← Older posts
Newer posts →

Garlic Fest 2018

Posted on October 17, 2018 by PriscillaMay 14, 2019

Our youngest garlic lover.

Best bartenders in Rosedale

Beautiful Tables by Ardis

Butternut Squash Galette. Delish!

Garlic Bread and Butternut Squash Galette. So yummy!

Pizza! Pizza!

Garlic pizza!

Garlic and Tomatoes. A perfect pairing.

Posted in Garlic

Rosedale Annual Garlic Fest!

Posted on September 6, 2018 by PriscillaOctober 17, 2018

Rosedale Community Garden

5th Annual Garlic Tasting Event

When:  Saturday, September 29, 6:00 p.m. to 9:00 p.m.

Where:  Harvard Gulch Golf Course Clubhouse, located at 660 E. Iliff in Denver

Enjoy an evening of live music, gourmet garlic tastings, and samplings of a garlic-inspired tasting menu.

Tickets are advance sale only and space is limited.

EXPERIENCE…

…the difference that gourmet garlic can make in your cooking.

Come taste and compare our garlic with regular, supermarket garlic.  You will never go back!  Taste the difference our gourmet garlic makes in garlic bread, garlic pizza,  soups, and more.

Register now!

LEARN…

…about planting, harvesting, storing, and using the many varieties of garlic. Garlic experts on hand to answer all your garlic questions.

And best of all, Rosedale gourmet garlic varieties will be available for sale.  Take some home for your own garlicky, gourmet dishes.

JOIN THE FUN

Register now!

Rosedale gardeners have planted and harvested 13 different varieties of gourmet garlic. That’s more than 2000 individual cloves!! Carefully hand-planted one by one last Fall; lovingly tended all Winter and Spring; hand-harvested, cleaned, tagged, and bundled. Now you get to try them. Did we mention that it was all done by hand?

All Rosedale gourmet garlic varieties will be available for sale.


Tickets are $20 and include 2 beverages (wine and beer, included), garlic tastings, and sample foods.

Live music by Krewe De Groove.

Register now!

All proceeds benefit Rosedale Community Garden and help us buy things like:  organic compost, organic straw for mulch, tools, water to keep our gardens growing, and many other items large and small.

Thank you for your support.

Posted in Garlic

Bees Update – We’ve Got Honey!!

Posted on September 6, 2018 by PriscillaMay 14, 2019

We are loaded! A big THANKS to Dennis, Mara and Lara. We reset the foundations for hives 1 & 2 yesterday.  This was a big deal as hive 2 kept leaning and was quite unstable. We also swapped hives 1 & 5 – hopefully this will increase the bee population in hive 5, as the bees returning to hive 1 will actually find hive 5 in its place, and many will acclimate and make hive 5 their new home. In addition, we removed the queen excluder from hive #1, and hopefully that will encourage more bees to go up into the super and start working it (making bees wax and filling it with honey).

The BIG news is that in addition to all that, we also weighed hives 1, 2 & 5.  Weight is the main indicator of how much honey is in a hive. This is critical as hives in this area need at least ~ 60 lbs of honey to survive the winter.  I bought a cheap luggage scale, and we strapped the hives to it one at a time. The scale went up to 110# which I figured would be plenty – NOT!! Two hives pegged it to error as they were past the max, and one hive weighed 75#.  Assuming the empty weight was ~ 20# including the straps, two hives weigh 90+, and the other about 50#+. This means all hives should have plenty of honey by Fall to survive the winter.  Alright! We won’t harvest any honey this year, but we will bee well positioned to harvest next year.

On a more somber note, my family and I went to the Butterfly Pavilion this past weekend, and they have big displays about bees.  In fact, they manage about 40 hives! The lady I spoke with is a beekeeper of 10 years, and she said they have survival rate of only a dismal 30%  :(. So, we’ll see.

Here are some upcoming activities – please come out and join us. Tons of fun and really cool and guaranteed to bee really fun!

Tentative Date

Activity

Sept 22, 23 or 24 (warm day)

Add reducers, do final mite count, add frames of honey to augment if needed

Oct 20, 21 or 22 (warm day)

Add mouse guards, install foam insulation around outside

Nice day in Nov

Assemble new frames with foundation, repair old ones. Melt wax in solar wax melter.

Monthly Nov – Mar

Inspect hives on a warm day – check for activity, heft test (feed if light), pop top only if above 50.  Will not remove frames.

Mar

Prep equipment, and ensure we have spare deeps ready for splits.

LAte Mar / Early April weather dependent

Split hives as needed to avoid swarming. Rotate deeps top to bottom. Heft test.

April

Relocate hives so more trees fit in orchard. Reset all foundations to solid ground (wood chips move as they decay – unstable)

Hope your tomatoes are as delicious as ours!

– BeeRad

Update:  OK, so I weighed an empty hive and it is actually about 45#. So the big hives have at least 65# of honey which is not quite as much as I originally thought but still way more than enough.  We’ll likely need to add some honey to the two smaller hives. And I guess I need a larger scale!

Posted in Bees

Bees Update – July 23, 2018

Posted on July 23, 2018 by PriscillaJuly 23, 2018

by BeeRad

Hello everyone,

The heat continues and the bees love it. Many of you have noticed how active all 6 hives are, which of course is great.  We now have more protective gear, so please make plans with me to check out a hive.  It is entirely safe and just fascinating to see up close what they do.

We’ve inspected all 6 hives in the last month – two Saturday (Thanks Dennis, Gary, Mara and Anna!) and two last weekend (thanks Dennis and Lorraine!). Some interesting findings, so here goes.

IMG_20180721_095416959.jpg


Hive #1 (SE corner, and the tallest) – this hive is doing fantastic, and the best of all.  It was a nuc purchased this April and the bees are producing fabulously. Look at all this honey:

IMG_20180714_095638481.jpg

Unfortunately some comb was bridged to the deep and we didn’t realize it until too late. Raising the frame did spill a lot of honey but the bees cleaned it up. You can see it literally dripping off the bottom of the frame below.

IMG_20180714_095632528.jpg

The top box is called a ‘super’, and that is strictly for excess honey. Right now, the super does not have much activity in it. It is unusual to harvest honey the first year, but possible. We estimate this hive weighs about 60 pounds, so it should be set going into the fall (we want 60-80 pounds in each hive for them to survive the winter – they consume the honey for energy, shivering all winter so they can keep the queen warm).

We physically reset hive #2(NE) which was starting to lean a bit as the wood chips settle. This winter we plan to reset all hives so they are more stable.  We’ll excavate the wood chips and set the cinder blocks directly on dirt so they don’t settle. We’ll also buy more cinder blocks and stack them higher so the hives are higher off the ground. That way we won’t have to bend over so much. This hive was a ‘package’ started in May and we estimate it weighs 40 pounds. Hopefully the bees continue storing away honey but we may have to feed them in the Fall to supplement if their weight is insufficient.

Hive #3 (SM) is the one that wintered over from last year and then we split.  This hive seems to be doing well and also weighs in at about 40 pounds.

Hive #4 (NM) is the 2nd nuc we purchased, but it has had a couple of setbacks, so it is not doing as well as Hive #1. In May, it had no queen for 3 weeks. In addition, we saw evidence of chalk brood a month ago (Thanks Devin and Perry for the help in finding/diagnosing).  Chalk brood is a fungus (http://www.dave-cushman.net/bee/chalkbrood.html) that kills some developing brood, and they take on a white chalky appearance. Gary and I cleaned out the bottom board, and we haven’t seen any more evidence at the opening. Next time we inspect, we will look again. This hive only weighs about 20 pounds so it has quite a ways to go. We’ll likely need to feed it to help it survive the winter.

Hive #5 is the split we made from Hive #3. It also did not get a queen until June 1, so it too is a little light at 30 pounds, but better than hive 4. It’s bee population is growing and hopefully it too adds more honey in the next two months. We’ll keep a close eye on it, and may likely need to feed it in the Fall. We did see debris on the bottom so we investigated and it looks like wax cappings, perhaps from the bees moving honey around – see below.

IMG_20180721_095349501.jpg


Hive #6 is the other package we bought. Similar to Hive #2 (the other package) it looks to be about 40 pounds. We saw a fascinating adventure with a wasp. It flew by as we were inspecting, probably attracted by the honey smell. The bees quickly shoo’d it away twice. But it came back again, and then the bees attacked it. See below and zoom in to the middle of the edge, and you’ll see that a bee is literally holding on to the wasps’s leg, not letting it go, as other bees come to help attack it. Amazing!

IMG_20180721_102151169.jpg


Lastly, regarding the mites, we’ll be taking assertive action this year since they did so much damage last year.  Perry & Devin will help us treat all 6 hives at the end of summer / early Fall. Since mites move across hives, we think it best to treat all hives, even though some hives may have fewer mites now, especially the ones that had a brood break while being queenless.

Thanks to everyone that has participated so far in the Rosedale Bee Program this year. Bee happy for the coming rain and remember to pick your zucchini!

Posted in Bees

Common Garden Weeds

Posted on July 3, 2018 by PriscillaJuly 3, 2018

Download (PDF, Unknown)

Posted in Uncategorized

Make Your Own Lacto Bacillus Serum (organic fertilizer)

Posted on June 16, 2018 by PriscillaJune 16, 2018

Making Lacto Bacillus Serum (organic fertilizer) to Fortify My Garden

Posted on June 15, 2018 by anaincolorado
Standard

IMG_9452

Do you want to learn about a super easy way to increase the productivity and health of your garden?   This fertilizer called “labs” for short is easy to make and the results are amazing.  I learned about making lacto-bacillus serum from the head horticulturalist at the Denver Golf Courses who also heads a very productive donation garden at Harvard Gulch Golf Club in Denver.

The term Lacto-Bacillus Serum sounds fancy but in truth, this simple to make recipe provides a workhorse of beneficial bacteria for your garden and has multiple other applications including :

  • Speeding decomposition in the compost pile
  • Unclogging drains
  • Treating powdery mildew on squash plants
  • Eliminating odor in animal bedding
  • Improves growth of plants when applied as foliar spray and soil drench.
  • Improves their efficiency in absorbing nutrients so naturally, growth is enhanced.

“With the use of these microorganisms, the nutrients you spray or drench to feed your plants become more bio-available and are more easily absorbed by the plants. Technically, you can say that plants do not use organic nutrients directly. Microorganisms convert organic nutrients to their inorganic constituents which the plants utilize. Utilizing microbes, you will notice better plant growth and health.”   –The Unconventional Farmer.

Labs Recipe:

Ingredients:   rice, water, milk

Directions: 

  1.   Day One:  Immerse a cup of rice in a quart of water.   Drain the water into a canning jar – filling it about 3/4 full.   Discard the rice.   Cover the jar with a paper towel but it should not be airtight.   Store it on top of the refrigerator and after a few days, the liquid will separate.
  2.  Day Three:   Siphon off the center layer adding 1 part serum to 10 parts milk and put in another container, cover tightly and let sit for another few days.   Once curds appear, you can strain the liquid with a cheesecloth (the curds can be fried up and eaten).
  3.  Day 5-6   For the Garden  Add 1 part serum to 20 parts water to spray in the garden.   Use on plants weekly Store in the frig or add molasses to store at room temperature.  Stable for about a year.

Sources of information:

The Unconventional Farmer:   http://theunconventionalfarmer.com/

Build a Soil:  https://buildasoil.com/blogs/news/8634877-gil-carandang-lactobacillus-serum-recipe

Posted in Uncategorized

2018 Hopi Blue Corn Project

Posted on June 9, 2018 by PriscillaJune 9, 2018

by Millicent Tallard

The blue corn has been planted for the 2018 season.  Read all about the fascinating Blue Corn Project here.

Posted in Hopi Blue Corn Project

Soaker Hose Repair Tip

Posted on June 5, 2018 by PriscillaJune 5, 2018

by Brad Volin

I really enjoy my soaker hoses.  It’s nice to turn them on and water the entire plot while I weed, or soon harvest!  But every year some hoses crack and get brittle from being in the sun so long.  I used to buy  repair fittings but they were expensive and time consuming.

Here’s what I do now, and other gardeners may also want to try.  I cut the hose at the point of the crack.  I slide in this $0.79 coupling from Ace.
Usually it stays in place by itself. If not, I simply put a zip tie on either side.  These cost pennies.
Posted in Garden Tips

Bee Update – May 31, 2018

Posted on May 31, 2018 by PriscillaMay 31, 2018

by BeeRad

Thanks Dennis, Mara, Lori, Elianajoy, and ESPECIALLY Perry for coming out this past weekend to do our first inspection of all 6 hives! The good news: we spotted 2 queens (see pictures below), had zero mite counts on several hives, trained Dennis on inspections!, replaced both 1/2G sugar waters, logged data directly to our inspection form on Google drive, and installed a queen in the split (hive 5).

Unfortunately, there was bad news – hive 4 did not have a queen. It looks like I accidentally killed the queen when I inspected the hive back on May 6, when I added the Upper Deep. Luckily, Perry brought extra queens, and we added a new queen to hive 4 also, and now all 6 hives are Queen Right! There is a balance between inspecting hives to know how they are doing, and leaving them alone so we don’t cause damage. I am bummed to have lost the queen, but I guess it is part of the learning process. We’ll strive to be more careful going forward.

Here’s a summary of the status of all hives:

Hive 1

Looks great! Needs nothing in next month. Should see comb starting in upper soon, then larva/brood w/i 2 weeks

2

Looks good. Next, add upper Deep so have frames to draw comb and change reducer to middle 6/9. Continue to feed after?

3

Looks great! Needs nothing in next month. Self hatched queen looks to be doing well.

4

Installed new Queen. Leave alone for 4 wks

5

Installed new Queen. Next, might need brood frame from Hive 1 and new frames (Upper Deep) to draw comb 6/9

6

Very strong. Next, add upper Deep so have frames to draw comb and change reducer to middle 6/9.

Next inspection is June 9.  We’ll need to scrape a bunch of wax off old frames ahead of time. Thanks again to everyone that helped out.

As you check out the hives, you’ll be noticing more and more buzzing bees!  Their populations are literally growing by several thousand bees each week each hive!

– BeeRad
Posted in Bees

Hopi Blue Corn 2018

Posted on May 29, 2018 by PriscillaJune 5, 2018

HOPI BLUE CORN and PUMPKIN PROJECTS – 2018

by Millicent Tallard

Rosedale Community Garden

April 23, 2018 – Jackie and I, wearing our DON’T WORRY- BE HOPI tee shirts purchased at Tsakurshovi on Second Mesa, Arizona, met with 17 senior class students and two teachers from The Waldorf School.  They had asked if they could help with our Hopi Corn and Pumpkin Projects this season. They would dig and weed for us in exchange for learning a bit about what we are doing.

We stood around the picnic table by the gate and I gave a brief talk on how we got interested in Hopi Corn and what success we had with it in previous years.  This will be our 8th season.  I passed around photos that had had used in other talks.

The students got to work with shovels and forks and in a short time the whole corn patch was dug ready for planting which will be done in June.  They were all in high spirits and with some instruction from their teachers they not only did the corn patch but also the spots for our pumpkins. They were all laughing and talking when they left us and went to their school garden patch. I took a lot of photos and will continue to do that as we plant and the season progresses.

Posted in Uncategorized

Post navigation

← Older posts
Newer posts →

Hours Log

Bokashi Sign Up

To schedule your bokashi work day, click HERE

Recent Posts

  • 2021 Garden Application
  • Housed Working and Healthy
  • UPDATED COVID-19 GUIDELINES
  • Denver Urban Gardens’ COVID-19 Guidelines for Safe Community Gardening
  • Rosedale Garlic is Planted!

Categories

  • Bees
  • Bokashi
  • Compost
  • Garden Tips
  • Garlic
  • Hopi Blue Corn Project
  • Japanese Beetles
  • Pest Control
  • Recipes
  • Uncategorized
  • Work Days
  • Workshops
©2021 - - Weaver Xtreme Theme
↑